
7 Trade Management Rules Copy Paste Playbook for Active Traders
- Discipline AI

- 10 minutes ago
- 8 min read

Adopt seven rules before your next trade: risk 1%–2% of account equity per position, set a stop tied to market structure or volatility, require a minimum 2:1 to 3:1 reward-to-risk ratio, sell part of the position at a predefined target, earn break-even rather than assuming it, apply a time or context stop, and log every trade’s maximum favorable excursion and exit efficiency. The sections below show the math and the workflow behind each one.
TL;DR:
Traders should risk no more than 1% to 2% of their account per trade to withstand long losing streaks without significant damage.
Setting stops below swing lows or support levels, appropriately wide based on volatility, prevents premature exit due to normal price noise.
Partial exits at twice the initial risk and using pre-decided trailing stop methods help maximize profitable moves and reduce emotional decision-making.
Moving stops to break-even should only occur after locking in significant partial profits or structural confirmation, not prematurely.
Automated tools can enforce risk rules, calculate position sizes instantly, and improve review accuracy, reducing manual errors and emotional bias.
Table of Contents
The Core Trade Management Rules Every Active Trader Needs
Trade management rules exist because entries are the easy part. Anyone can spot a setup. What separates traders who survive from those who blow up is what happens after the fill, and that comes down to a written trade risk management framework instead of in-the-moment feelings.
Here are the rules that hold up across stocks, forex, and crypto:
The 1% rule. Risk no more than 1% of account equity on a single trade. At that level, a trader would need an extraordinarily long losing streak to do serious account damage, which is why it’s the baseline used by many full-time day traders.
The 2% rule. A looser but still common baseline, used when account size or setup quality justifies slightly more exposure.
The 3-loss rule. Stop trading for the day after three consecutive losses. This caps the damage tilt does to your account and your head.
Minimum risk-to-reward. Require at least 2:1, ideally 3:1, before you take the trade. A 40% win rate at 3:1 still turns a profit; a 70% win rate at 1:1 barely breaks even after commissions and slippage.
The Free Trade rule. Once you’ve banked enough profit on a partial exit to cover your original risk, the remaining position is effectively “free.” That reframes every decision that follows.
These aren’t suggestions. They’re the floor.
Position Sizing: Turning Percent Risk Into Real Numbers
The formula is simple, but most traders never do it consistently: Position size = (Account equity × Risk %) ÷ (Entry price − Stop price).
A $30,000 account risking 1% accepts $300 of risk per trade. If a stock is entered at $50 with a stop at $48, the risk per share is $2, so the size is 150 shares.
On a $10,000 crypto account risking 1.5% ($150), buying at $2.00 with a stop at $1.92 gives $0.08 of risk per unit, meaning a position of roughly 1,875 units.
In forex, convert pip risk into dollar terms first: a 20-pip stop on a standard lot might risk $200, so a $150 risk budget caps you at 0.75 lots.
Margin changes this math fast. Borrowed capital multiplies both gains and losses, and FINRA’s guidance on margin calls is worth reading before you ever use leverage on a live account. Our position sizing methods guide walks through the same formulas with more worked examples, and traders working in crypto or forex specifically will find the sizing examples for those markets useful for building a repeatable cheat sheet.
Where Should You Actually Place Your Stop-Loss?
Stops belong on the chart, not in your gut. Investopedia’s risk management framework recommends planning both your stop and your target before you ever click the buy button, anchored to something the market itself is telling you.
Structure stops sit below a swing low, above a swing high, or outside a key support or resistance level, because that’s where the setup is actually invalidated.
Volatility stops use Average True Range, commonly placed 1.5 times the current ATR from entry, wide enough to survive normal noise.
A stop set too tight relative to the asset’s normal range gets whipsawed out on random movement, not because the trade thesis failed.
Never widen a stop to “give it more room” once you’re in the trade. That’s not risk management, that’s hope with a spreadsheet.
Wider stops mean smaller position sizes. If your structure stop is far from entry, the position-sizing formula automatically shrinks your share or contract count to keep dollar risk constant.
The “Free Trade” Workflow: Partial Exits and Trailing Stops
A repeatable exit sequence removes the guesswork that turns winners into break-even trades. A common structure looks like this:
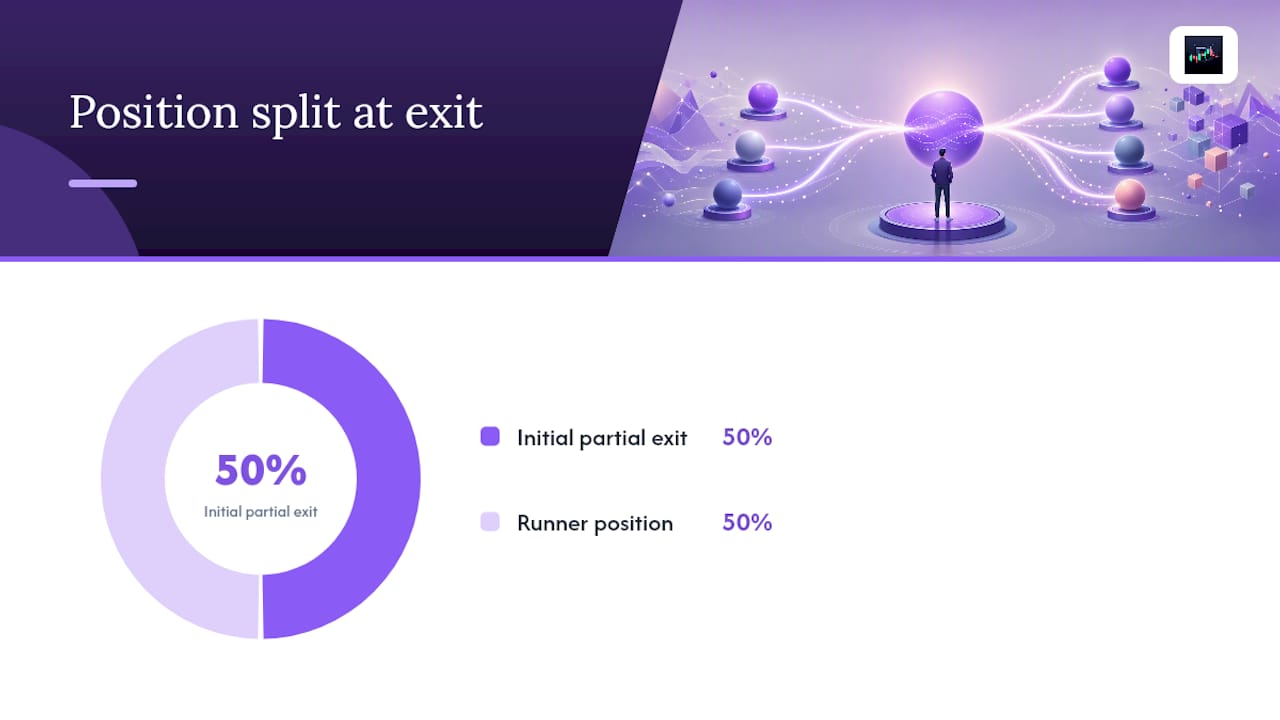
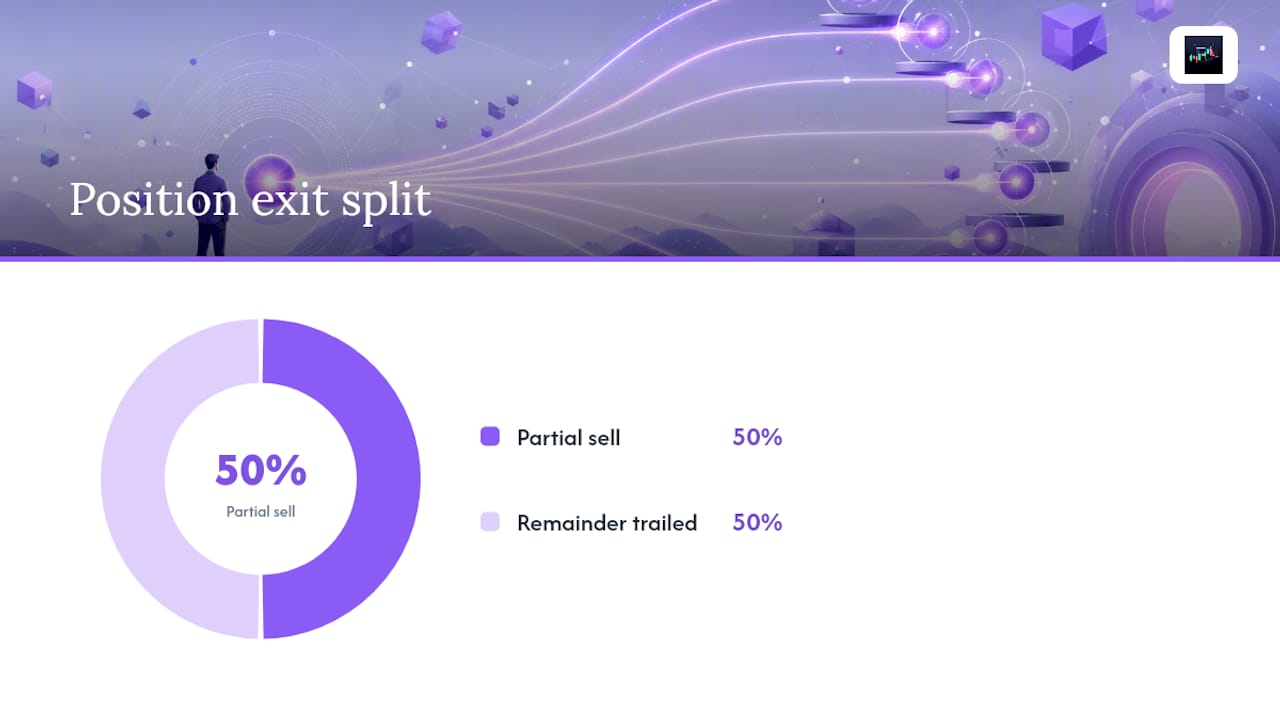
Take 50% of the position off at +2R (twice your initial risk).
Move the stop on the remaining size to break-even, or slightly better.
Let the runner ride using one of three trailing methods, chosen before entry.
Pre-deciding these steps for every setup, rather than improvising mid-trade, is exactly the playbook approach that separates disciplined exits from lucky ones.
The three trailing methods each fit a different market condition:
Structure trail — move the stop up (or down, when short) to each new higher low or lower high. Works best in trending markets with clean swing points.
Technical trail — use a moving average, like the 9 or 21 EMA, as a dynamic stop. Suits fast-moving momentum names where structure forms too slowly to be useful.
Level-to-level trail — advance the stop to just under the last broken resistance level (now support). Fits range-to-trend transitions where obvious price levels exist.
For a closer look at how trailing take-profit logic performs across different setups, this trailing take-profit breakdown is a useful companion read.
Pro Tip: Pick your trailing method before you enter, and write it into the trade plan. Switching methods mid-trade because the position moved against you is an emotional decision disguised as a technical one, and it quietly erodes your exit efficiency over time.
When Should You Actually Move Your Stop to Break-Even?
Moving to break-even the instant a trade shows +1R feels safe. It’s usually a mistake. That reflex kicks winning trades out on normal pullbacks before they’ve had a chance to run, and it’s one of the most common ways traders cap their own upside.
Break-even should be earned, not assumed:
Move to break-even only after banking a partial exit at +2R or beyond, or after price confirms a new structural level in your favor.
A trade that hasn’t proven itself with a real move doesn’t deserve a “safe” stop yet. It deserves the stop you planned at entry.
Exceptions exist: flatten or go to break-even ahead of major scheduled news, at session close for day trades, or when the setup’s original thesis is no longer valid regardless of price.
Time Stops and Context Rules for Objective Exits
Price isn’t the only thing that should get you out of a trade. Time and context matter just as much, and both remove the temptation to sit and hope.
Some trade types, like momentum scalps, use short time stops such as around 15 to 30 minutes to exit if expected moves don’t materialize.
Swing setups might use a multi-day time stop tied to the catalyst’s expected timeline.
Context triggers include losing VWAP on an intraday long, a broad market reversal, or scheduled red-folder economic news hitting mid-trade.
Combine these with your price stop, not instead of it. Practitioner guides on trade management consistently point to explicit time and context rules as the fix for improvised, emotion-driven exits.
Journaling MFE and Exit Efficiency to Fix Your Rules
Maximum favorable excursion (MFE) measures how far a trade moved in your favor before you exited. Exit efficiency compares your actual profit to that MFE, expressed as a percentage.
Compute it as: Exit efficiency = (Actual profit ÷ MFE) × 100.
Consistently low exit efficiency, say under 40%, usually points to cutting winners early or moving to break-even too soon.
High MFE with low realized profit is the clearest signal that your trailing method needs to change, not your entries.
Metric | What it reveals | Typical fix |
MFE | How far the trade could have gone | Baseline for judging exits |
Exit efficiency under 40% | Winners cut too early | Loosen trail, delay break-even |
Exit efficiency above 80% | Exits well matched to the move | Keep current rules, don’t tinker |
A simple review checklist: pull your last 20 winning trades, calculate exit efficiency on each, and change one rule at a time. Our outcome tracking guide breaks down the seven fields worth logging on every trade if you want this running in under a minute per entry.
A Ready-to-Use Trade Management Playbook Template
Copy this into your journal before your next session:
Setup type: (e.g., intraday momentum breakout)
Risk %: 1% of equity = $X
Entry / Stop / Initial target: structure or ATR-based
Partial rule: 50% off at +2R
Break-even trigger: after partial, or structural confirmation
Trailing method: structure, EMA, or level-to-level (pick one)
Time/context stop: e.g., exit if no follow-through in 20 minutes
Filled example: momentum breakout on a $20,000 account, $200 risk, entry $15.00, stop $14.60, target $16.20 (3:1), 50% off at $15.80, stop moved to break-even, remainder trailed on the 9 EMA, time stop at 25 minutes if volume dies.
Test any new playbook on small size first, then review the results after 30 trades before scaling back up. Our guide on writing trading rules that hold up covers how to phrase each field so it’s specific enough to actually follow under pressure.
How AI Tools Speed Up Rule Enforcement and Review
Doing this math by hand every trade is exactly where discipline breaks down under pressure. Automated tools can calculate position size instantly from your risk percent and stop distance, flag when a trade has earned break-even, and suggest stop distances based on current volatility.
On the review side, automated MFE and exit-efficiency calculations turn a stack of trade tickets into a clear diagnosis without the manual spreadsheet work, and that speed matters because slow feedback loops are what let bad habits repeat for months before anyone notices.
The traders who improve fastest aren’t the ones with the best entries. They’re the ones who can see, within days instead of months, that they’re cutting winners at 35% exit efficiency and fix exactly that one number.
Discipline Beats Cleverness Every Time
Named rules work because they don’t ask you to be strong in the moment, they ask you to have decided in advance. The 3-loss rule doesn’t care how confident you feel about trade four. It just stops you.
Three things to do this week: trial your playbook on reduced size, write one complete entry before you take a trade, and journal your first 30 trades before judging any rule as broken. For more on managing the tilt that undoes good rules, see our piece on trading psychology and execution.
— Tony
Let Discipline AI Handle the Math While You Handle the Trade
Discipline AI removes the one failure point most traders never fix: doing risk math under pressure. Instead of eyeballing position size or guessing whether a trade has earned break-even, the app calculates it, flags it, and logs it automatically, so the rules in this article stop being theory and start being enforced every single time.

The platform has a journaling and analytics layer that helps track MFE and exit-efficiency numbers after every trade, which can assist in identifying whether your trailing method or your break-even timing is affecting your results. If you want to see how AI-generated setups, confidence scoring, and behavioral coaching apply these same named rules in real time, start with the AI Learning Center and explore how the platform fits into your current playbook before your next session.
Sources
Recommended


Comments